Showing posts with label Carrie's Story. Show all posts

Monday, April 6, 2020

Slides + Quicktime = Learning Video


I LOVE Google Slides! Slides are versatile and so much more than a presentation tool. Using Google Slides along with Quicktime to screen record can make a nice little learning video.


One way that I like to do this is to start with a new Google Slides presentation or use an existing one.  I try to think about the steps I would take to show a skill or concept during a face to face lesson and then I use each page of the slides presentation to show a small part at a time. 

I use the “animate” feature in Slides to make visuals or text appear slowly onto the page so I can try to explain an idea in a coherent and sequential way.


When the slides and animations are in order and they make sense, I go through them in “presentation mode “and I practice doing a voice-over through each page of the slide as if I am recording. After a few short run-throughs and a couple of adjustments with the Slides, then I add Quicktime. 

Quicktime is a tool that is used to record audio and video. I use it on my Macbook to Screen Record while I speak. Quicktime allows me to record my voice and my computer screen simultaneously. When I am ready to screen record, I put my Slides in presentation mode, select to record the entire screen and I teach the skill or concept through the visuals and text on the slide along with my voice. This little combination then produces a learning video that I can use to teach a concept through a flipped environment, blended learning or for virtual or distance learning.


I have included two resources to help you get started. There is a video that I made to introduce perimeter with my 3rd graders so you have an example of the final product. Also included is the Slides Presentation that I voiced over to create the video. The Slides include the animations so you can see how I ordered them to produce the sequence of visual and text. Feel free to make a copy and try it out on your own. 

The video can be shared out to your students in a variety of ways. The video can be easily uploaded into Youtube and shared out. I have given kiddos access to them in the classroom as an in-class flipped environment with QR Codes or direct links. I have shared the videos with kiddos in an LMS like Blackboard 9 or a workflow app like Showbie or Google Classroom. 


Things to keep in mind as you begin. 

  1. Start small. Use the skills you have and build up little by little.

  1. Be okay with making some mistakes along the way. It took me many tries to put it all together. 

  1. It doesn’t have to be perfect! It’s ok if you stumbled over a word or two in the voice over. It’s ok if you don’t edit out the “dead” time when you start the video. 

  1. If you are trying a first video during the virtual learning with the pandemic, kiddos love hearing our voices. Remembering this helped me to let of go of the perfectionistic tendencies when sharing out content online. The sound of our voices with the inflection, tone, and intonation can bring understanding to a topic and a sense of comfort at the same time.

Tuesday, December 4, 2018

Untethering

Untethering!

A journey of cutting the cord!

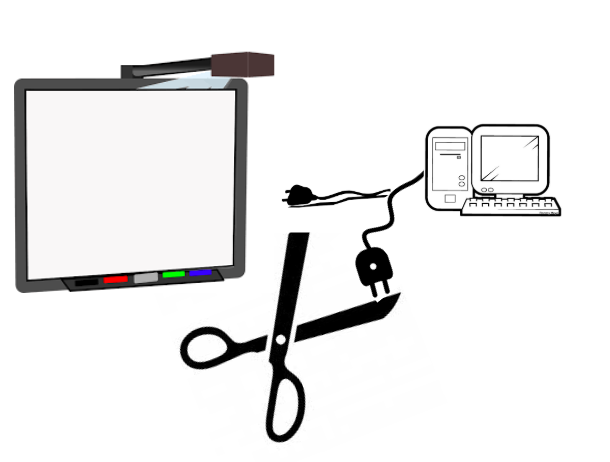
I had a recent triumph! I am finally untethered! I have recently taken the last steps to release myself from the cords that connect the desktop computer and the Smartboard. That hidden nest of tangled cords can have a subtle impact on teaching and learning. For years, these cords connected the desktop to the Smartboard. Connected the Smartboard to me. Connected me to the front of the room.  
Cutting the cord was made possible by the introduction of the new Smartboard TV into the room and willingness to let go of the familiar.


We have a new Smartboard TV in our classroom! I love it. My learners love it. Visitors love it.  This new board has great features! The board has its own built in “computer” with a browser, a digital whiteboard, built in mirroring, a remote file sharing feature and others. This board has allowed me to conquer the cords and become more mobile! I let go of the desktop, released the document camera and liberated myself to  move away from the Smartboard.

TRIUMPH!

This triumph was not immediate-it took time. We used the board for an entire year while learning the ins and outs and working out some of the kinks. I slowly replaced old functions with new ones and found workarounds with trial & error. Full use and untethering did not happen overnight.

Little by Little

I used the built in mirroring share feature while keeping the Apple TV plugged in and functional while getting used to the new built in share function.

I used the board’s browser to access Google Drive and all digital files while keeping the old desktop plugged in and available to use if needed. The desktop at its last classroom duty-it was used to play our Youtube study music playlist. The new board was not able to run the music in the background while another page was displaying.

I would suggest that others with an Apple TV and any type of interactive board give a try to cutting the cords. Take a couple of steps at a time. Reflect on the little successes along the way. Celebrate the moment you are able to become more mobile when displaying or teaching using your Smartboard. The journey, even if as lengthy as mine, is worth it!

Thursday, January 11, 2018

LOVE that Apple Classroom!

LOVE that Apple Classroom


Apple Classroom is an app that I LOVE! It has become an important tool embedded in my classroom management and without it I could not function the same! Before Apple Classroom, if you wanted to be able to remotely manage what students were “on” while using their iPads,  there was Casper Focus.  For me, Casper Focus made a not so great first impression with “The Great Notability Takedown of 2015”. It wasn’t really that dramatic- but a mishap with Casper Focus caused Notability to be removed from my students’ iPads. Consequently, I was hesitant to use Casper Focus after that, so I was VERY excited when Apple Classroom arrived.


Why I LOVE Apple Classroom:

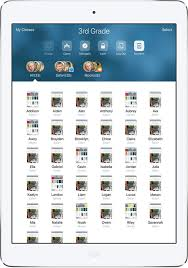
1. It takes about 10 minutes to set up Creating the class list for Apple Classroom

2. Its use is intuitive-it works like any other Apple product Overview of Apple Classroom

View snapshots of student iPad screens
in real time. See what all of your students
are doing on their iPads while working
with others students.
3. I can view all student screens at the same time and monitor while I facilitate a small group or work one-on-one. 

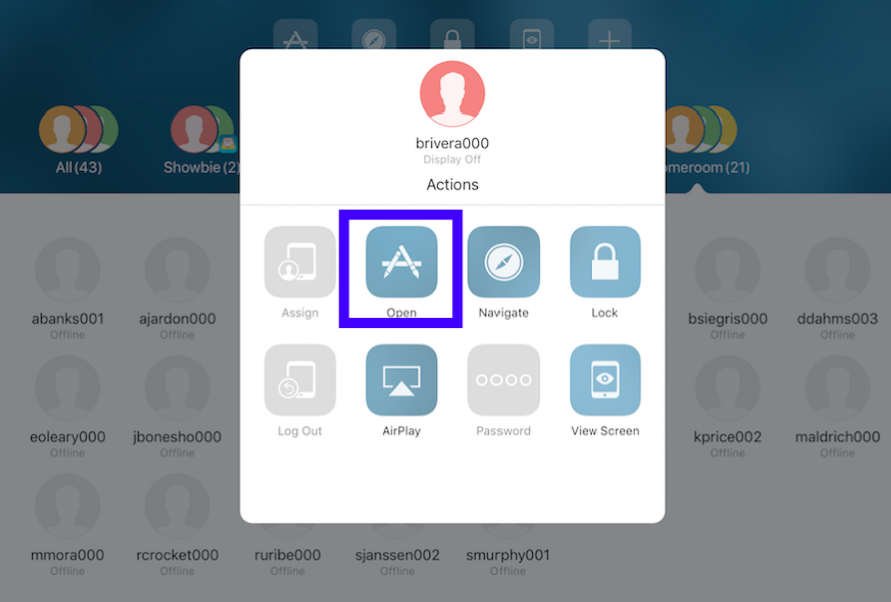
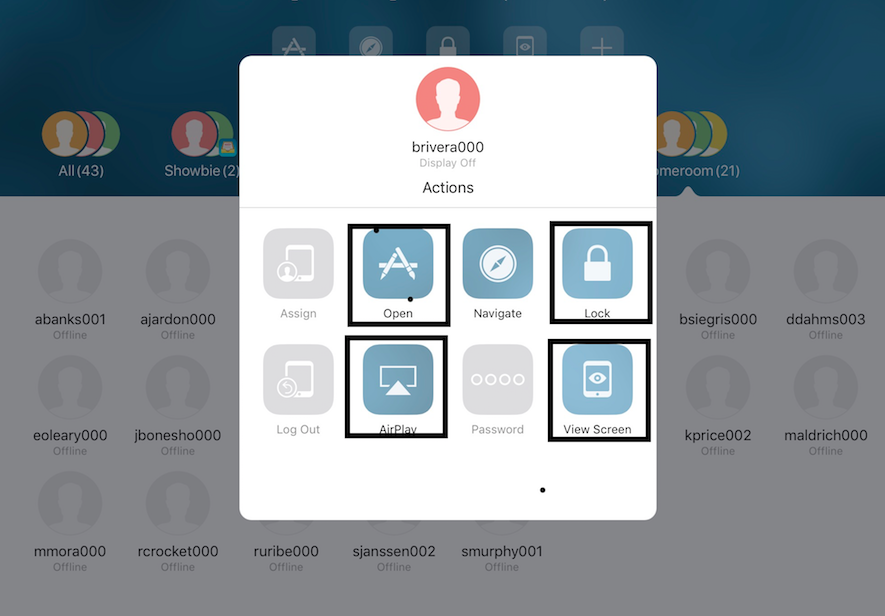
4. I can direct all student iPads to a particular app via Apple Classroom on my iPad-ALL at the same time


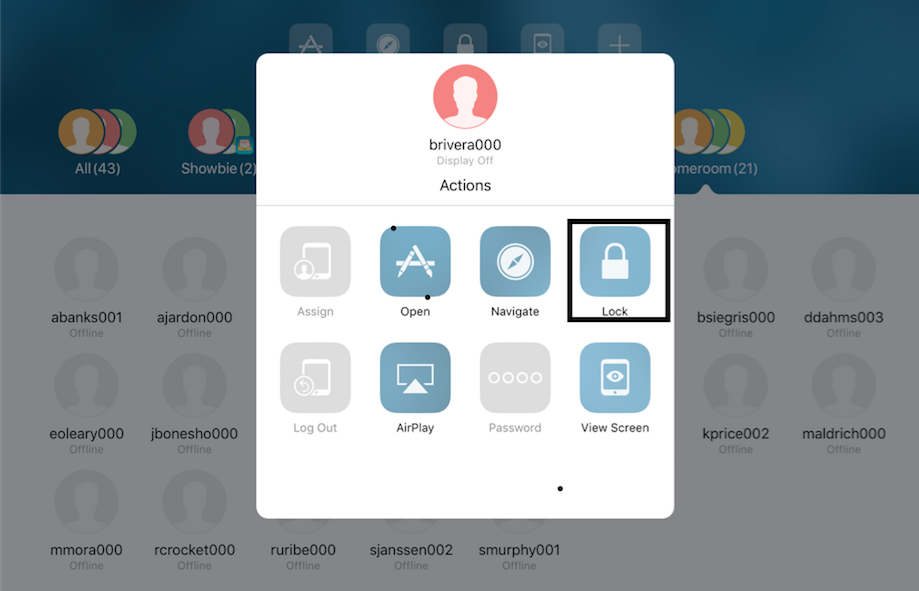
5. There is a feature to lock students  into an app once they have been directed there (this is usually needed only for a couple of lovelies-not as a whole class. I want them jumping in and out of apps as needed).


6. It runs through Bluetooth. I believe that this is a great advantage over Casper Focus, which is more “permanent”. Some may argue that running through Bluetooth is a disadvantage because students could easily break the connection with Apple Classroom by restarting their device or by leaving the general vicinity of the classroom., but students are aware that their Bluetooth must always be on and that attempts to break the connection will result in loss of privileges or other logical consequence.

7. One of my favorite features of Apple Classroom is the ability to AirPlay any student iPad to the SMART Board. It can function much like a randomizer to keep students accountable or just for a quicker connection to the board when students are sharing out or if you want to highlight a student strategy. (It is technically AirPlaying to the Apple TV connected to the projector on the SMART Board.)


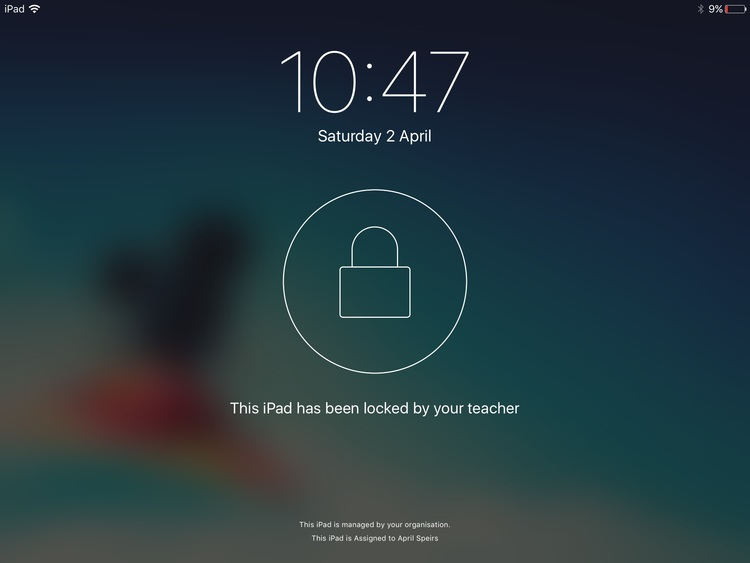
8. Another favorite feature is that I can see all student devices in one clear view. I am able to see what app each student is working in or I can see all screens at once where the small icons display exactly what is on each student screen. If I need to take a closer look at a particular student’s iPad, then it’s a quick touch and I see a larger view of that particular student iPad. There are times when that one student needs a reminder or redirection. Rather than interrupt the small group that I am facilitating at the time, I can quickly redirect by using a couple of features in Apple Classroom. I will on occasion“lock” that student’s  iPad for a brief moment. They get a message on their homes screen that shows “Your iPad has been locked by your teacher”


That action usually elicits a look up and direct eye contact with me. Then I give them the “Let’s  get back to work” look, exchange smiles and then unlock their iPad. This 30 second reminder/redirection is a GREAT way to non-verbally and very quickly get a student back focused with the correct task. I LOVE that I am not interrupting my small group and it gives the student a quick visual reminder.


With the many advantages I recommend that you give it a try-even if you’re feeling a bit skeptical. There are many other little features that help things run smoothly that I am sure you will quickly discover.

ENJOY!

Sunday, December 3, 2017

Carrie Driscoll


I am Carrie Driscoll- I am in the midst of my 7th year of teaching 4th grade at Bethesda. Along the way through those 7 years the landscape of education has greatly shifted, including the use of technology tools in and around instruction. When I toured Bethesda as a part of my interview, there was one portable Smartboard in the 4th grade pod that the teacher and students were using while skillfully trying to dance around the giant cords anchoring the board to an outlet.  If you walked through Bethesda today, you would see kiddos sailing, unanchored, around the open concept pods with their iPads in a 1:1 environment.


I have been fortunate to be a part of Bethesda and along for this journey from the lonely, anchored Smartboard to untethered iPads in the hands of ALL. I LOVE using technology tools in instruction and for kiddos to create meaning to their own learning. I am usually the first one that will jump at the chance to start using a new tech tool and enjoy working with colleagues to improve our practices together.
Carrie Driscoll
4th Grade  Bethesda Elementary 

As with any road there have been peaks and valleys, twists and turns and frustration and celebration. The road of “instructional technology” is no different.  It can feel like the speed limitless autobahn where there is movement on all sides at an insane pace .  Sometimes you’re just holding on for dear life, sometimes you’re cruising in your own lane and then sometimes you need to pull over to make sure you’re taking the right path. I hope to contribute to the learning  by sharing celebrations and setbacks along my “Journey to Modification!